Project 3000gt Phase 1 | HalTech Standalone 3kgt Phase 2 | Project Drift/Phase 1 | Project Drift/Phase 2 | Sr20 Motor Swap | (SDS) StandAloneFuel System | Videos | Contact Us | Links
HalTech Standalone 3kgt Phase 2
Speedtech Motorsports

3kgt Haltech Project from Darksideracer on Vimeo.
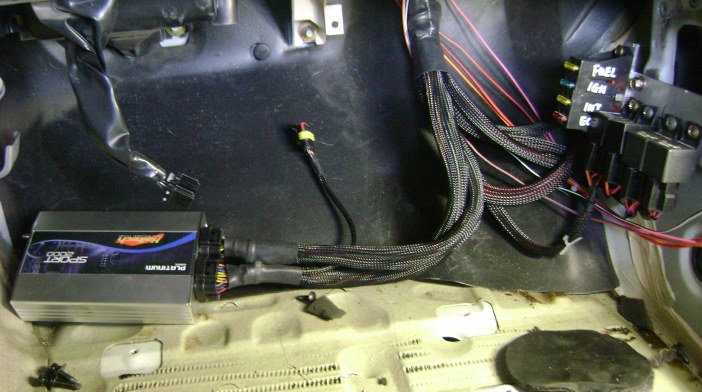
Relays /Fuses
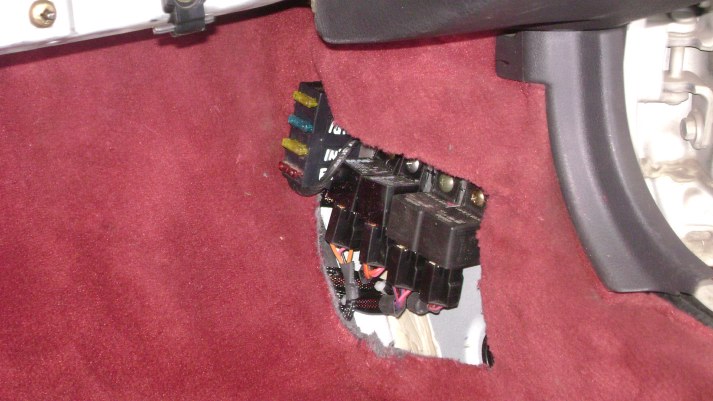
Relays /Fuses
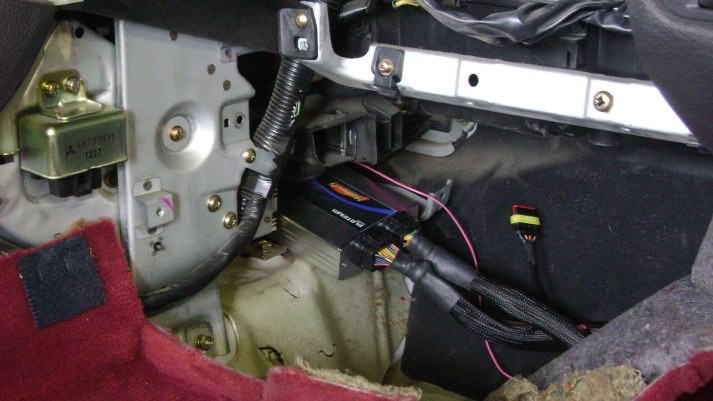
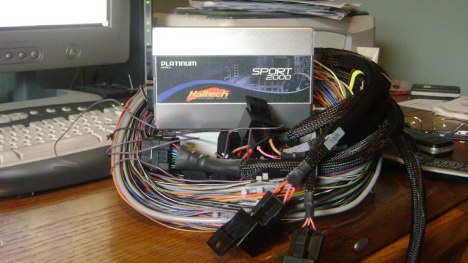
Haltech Standalone
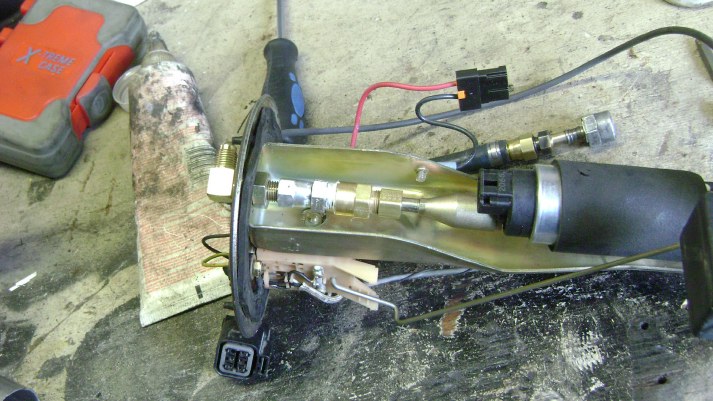
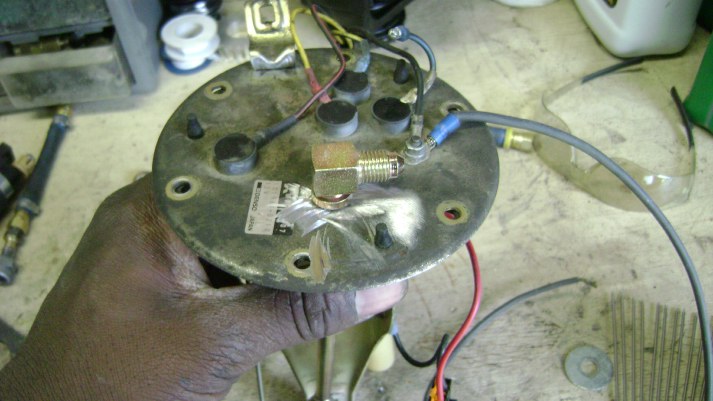
Fuel Pump Modifications
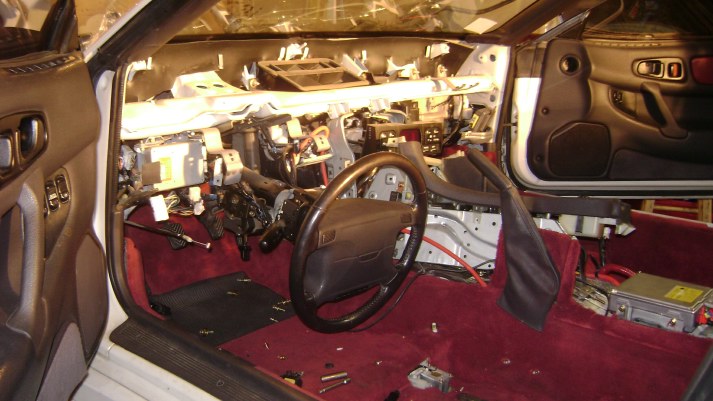
Dash Removal is the only way to install custom gauges
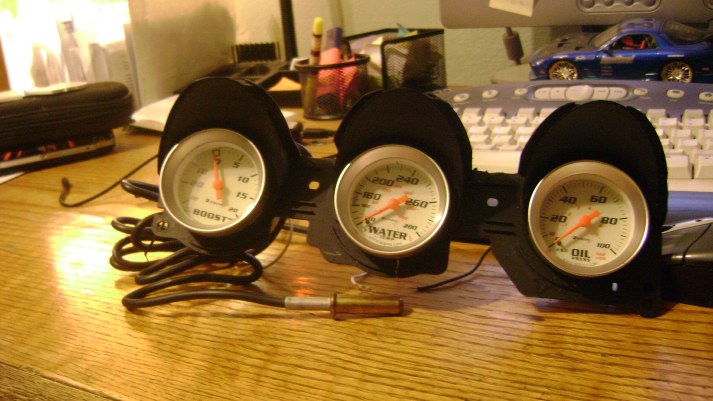
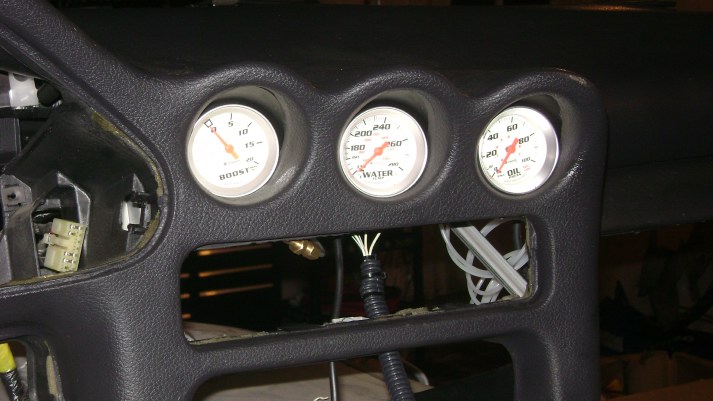
Here are the gauges done and ready for final wiring
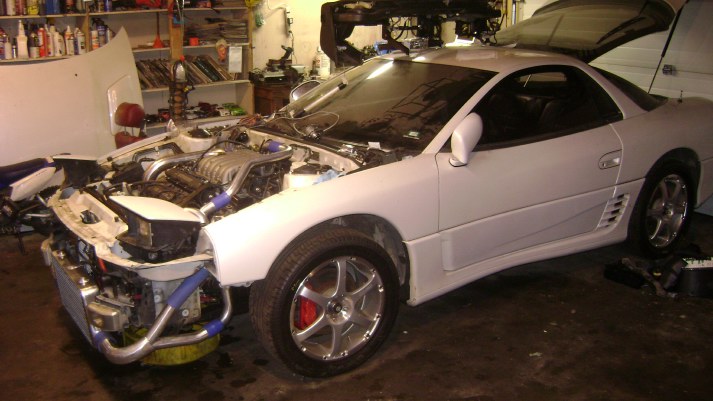
FMIC

Before
After
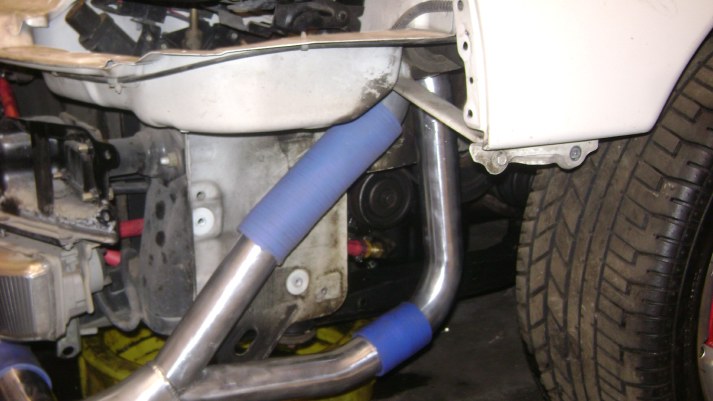
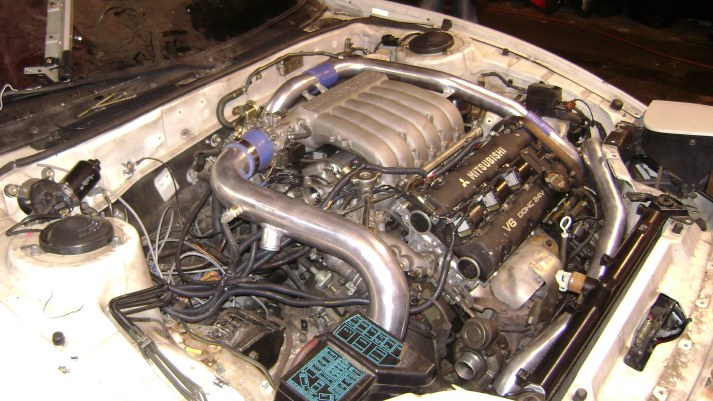
The FMIC install was going great until I noticed the hot pipe from the frnt turbo wouldn't line up.
We are going to have do a little bit of fabrication. Thanks to Cx Racing for dropping the ball on this screw up !!!!
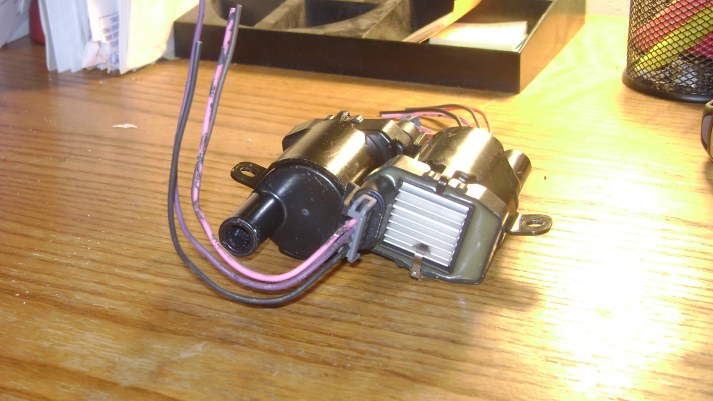
LS2 Coilpacks
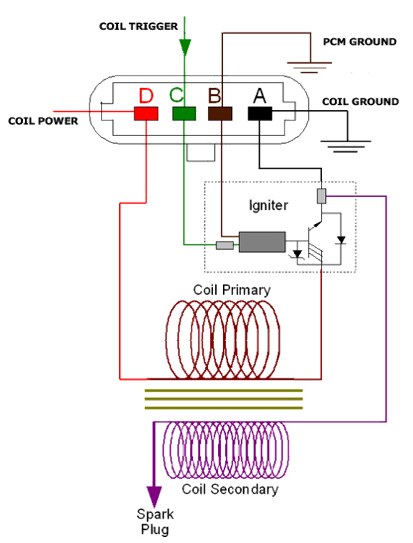
So if you reference this picture it gets wired like this:
A = Coil ground. I wired this directly to the battery - terminal for best performance.
B = Signal ground. This I wired to chassis ground.
C = Trigger signal. This was wired to the ECU coil trigger wire. These are the wires going *into* the stock ignitor (not the output of the ignitor which is used on other setups like the buick retrofit). The stock ignitor/coils
D = +12V. For maximum performance you should setup a ignition switched (and fused) relay and run the +12V through your relay to the coils.
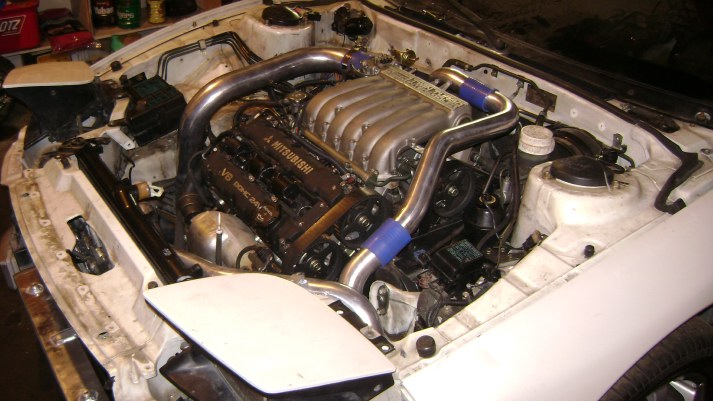

Front Mount Intercooler
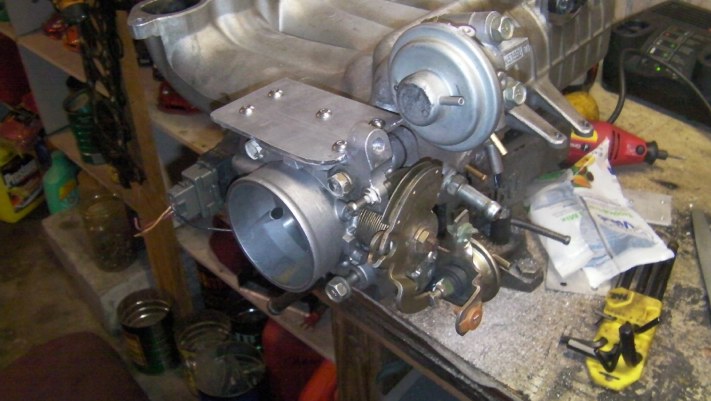
Aluminum Plate Cover on the throttle body
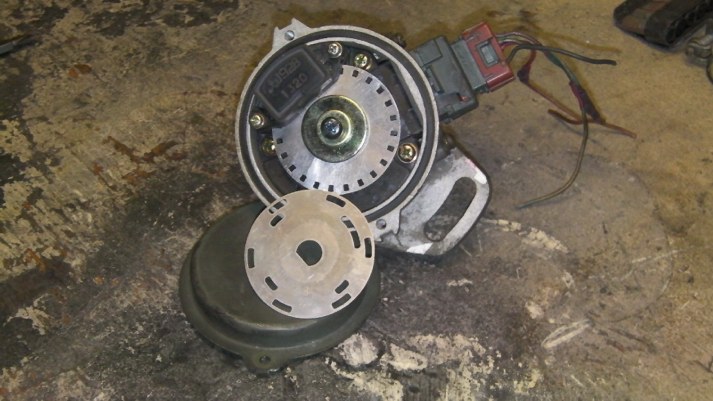
Trigger Disc

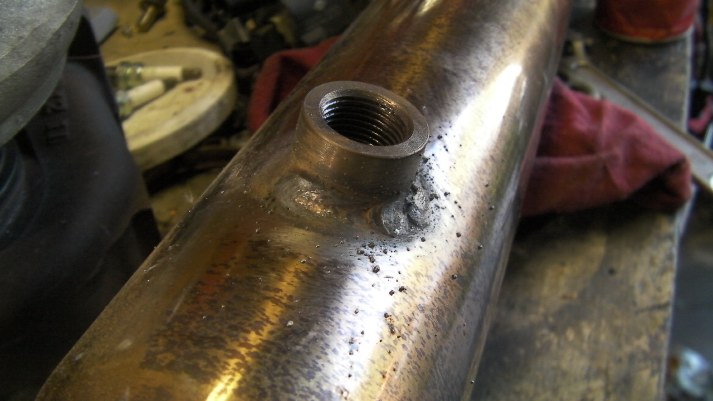
Wide Band O2 sensor

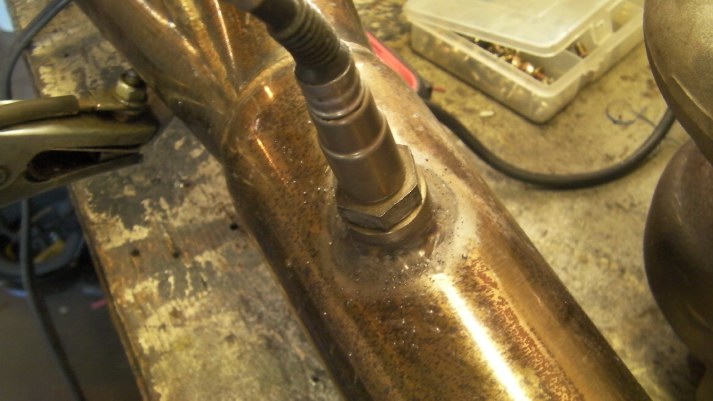
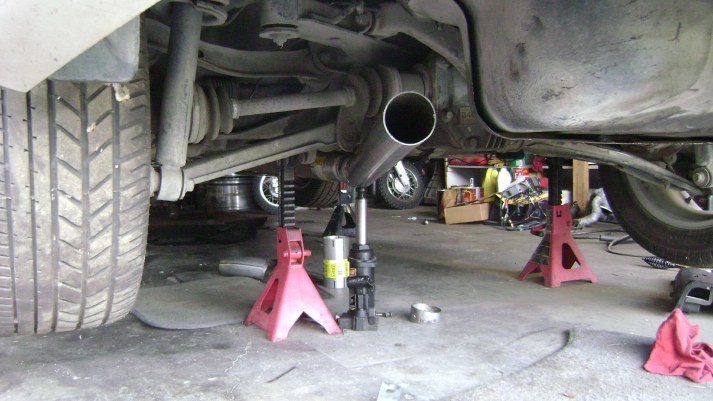
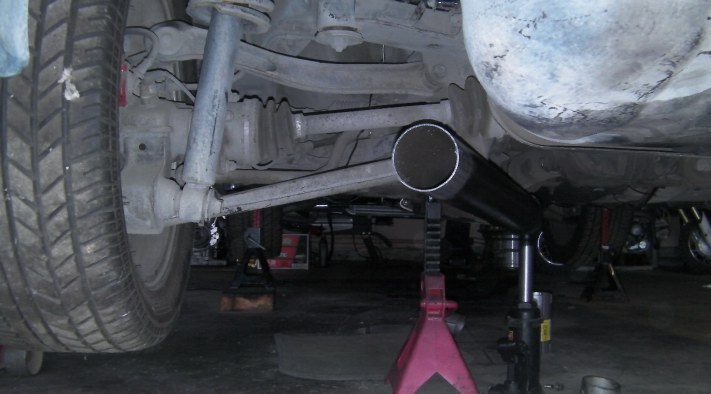
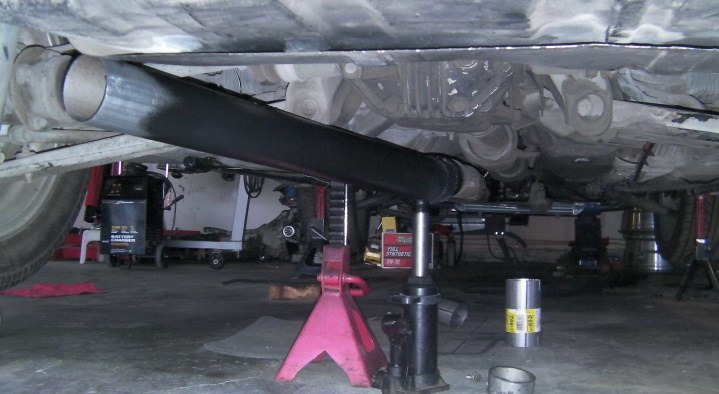
New Single 3" Exhaust