
3000gt Lash Adjusters Removal

Part List
Most shops will tell you, in order to remove the lash adusters, you have to remove the heads(not true!).
Here is a step by step process removal and installation of the lash adjusters.
1 . Disconnect the battery
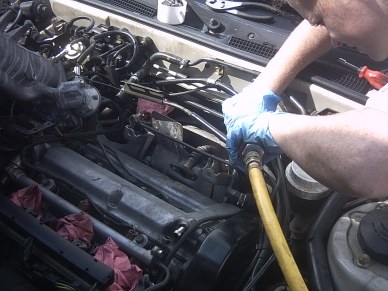
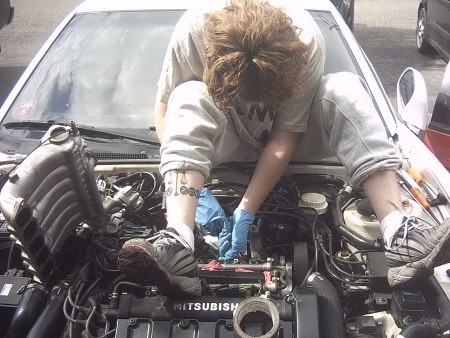
2. Begin with removal of the intake plenum rear turbo charge pipe any parts that will prevent access to the valve cover
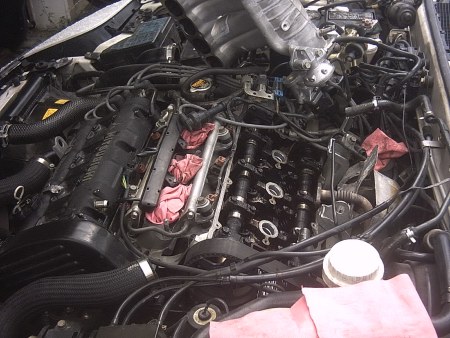
3. Next remove valve cover bolts (note there is a metal gaskett for the egr pipe that is connected to the intake plenum).


4. Next In order to remove the lash adjuster the cam lobes need to point up or away from the valve springs.
(option 1) If you choose to crank the engine over by hand the remove the spark plugs from all cylinders .
(option 2) If you choose to bump the engine over . Having a battery charger handy in case your battery goes dead.
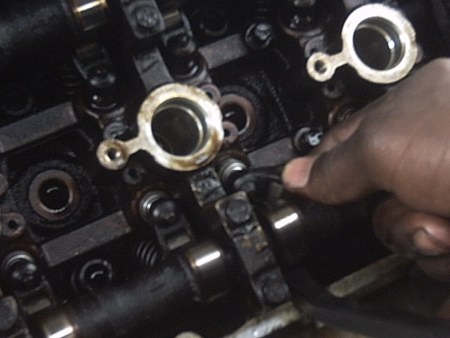
5. Next proceed to posistion the cam lobes . Next get your prybar (make sure you duct tape the tip).
Start with the first head and posistion the pry bar between the rockerarm and the valve spring and pry up .
Use the telescoping magnet to catch rocker arms , they tend fly out and you don't want to loose them .
Video
3000gt vr4 Lash Adjuster from Darksideracer on Vimeo.
3000gt vr4 Lash Adjuster
6. Next get your pliers and grab the lash at the base not the tip and pull with a twisting motion .
(If you intend to clean and reuse lash adjusters take care in this step)

7. Next move on to the rear head which is a little more difficult due to space.
This is where a little person comes into play.
By the time you get to the rear lash adjusters you would have developed a good technique.
9. Installation of the rocker arms is reverse order to removal.
10. Upon restart you may experience some loud lash adjuster. If so you need to bleed the air out of the lash adjusters
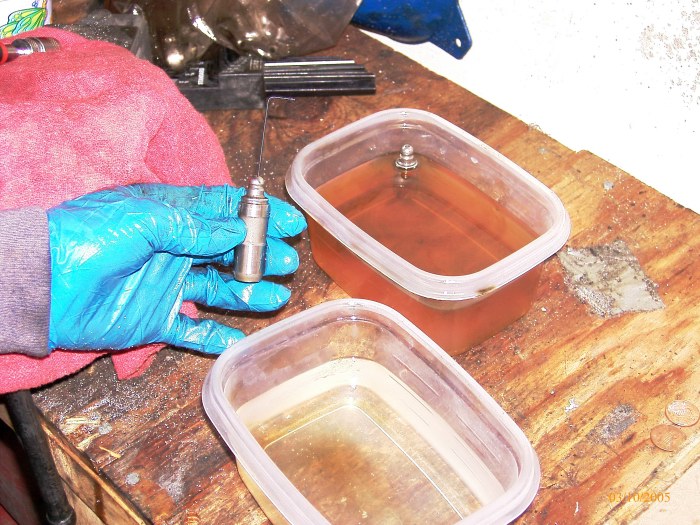
If you upgraded to big bore lash adjuster you can bleed out the air in the lash adjuster by using allen key to press
in the internal checkball while it is submerged in oil or diesel
